

As photographers, we are here to give you industry-leading tips on brand photography. It is essential to improve the company’s bottom line because it is the only thing consumers care about at the end of the day. They want to feel connected, and lifestyle brands take advantage of it by envisioning their product as part of a large identity.
If you are a photographer struggling to capture inch-perfect brand images, or if you are an eCommerce brand looking to spice your products up, you are in luck. We will tell you exactly how you can make your images look warm, breezy, and visually aesthetic.
Natural Light or Studio Light?
Let’s jump to the first question – should you use natural lighting or studio lighting? Well, in our experience, brand photography is best achieved under natural lights. It is mainly because of two things:
- Natural light makes your product look like it would in real life by enforcing authenticity
- As an additional benefit, photography in natural light will not cost you an arm and a leg
Firstly, before addressing the elephant in the room, let’s go through the basics.
Natural Light Photography – The Basics
If you are worried that we will direct you towards a lengthy course or a long youtube tutorial, worry not! By studying a few basics of camera settings, you can pave the way for immaculacy in photography.
Shutter Speed
The term ‘shutter speed’ refers to the length of time your camera stays open while taking a photograph. Fast shutter speed will allow you to take pictures without blurring the product. Slow shutter speed, on the other side, will blur the photographs. As a rule, make sure that your shutter speed does not exceed your lens’ focal length.
Aperture
The term aperture can be defined as the opening lens in the camera from where the light passes. In addition to it, the aperture of the camera is measured in f-stops. Your camera will let in less light if the opening of the f-stop is narrow. Conversely, you can put more emphasis on your object through a lower f-stop.
By playing with a few of these settings, you can achieve the right exposure in your photographs. However, if you are not comfortable playing around with these settings, feel free to put your camera on auto mode.
The Need for Equipment
As we mentioned earlier in the article, it won’t cost you an arm and a leg, but you will need to get your hands on a few essentials, such as:
Tripod
We talked about shutter speeds and blur photographs, no? Tripods help a great deal by preventing your photographs from getting blurry. However, if you want an image with aesthetic light visuals with low shutter speed, it can still do the job.
Reflector
Now you can reflect the light in any direction you need, all with the help of a reflector. Usually, reflectors cost between $20 to $400, but if you are on a budget, white foam boards can do the job as well.
DSLR Camera
The most important piece of equipment of all is a professional digital camera. You can change the aperture and shutter speed depending on the lens to optimize your natural light images.
Photography Tips
Let’s go through a few of the finest photography tips you can master to achieve excellent brand photography. A lot of variables come under consideration, but here are a few of the most important ones:
Indoor Window Light
If you want to fetch the indoor light from a window, make sure it is soft and coming from one side only. For that purpose, you can follow the following guidelines:
- Try finding a long window so that the source of light comes only from above
- To even out the source of light, try to use a reflector
Sunny Days vs. Cloudy Days
At Bright Focus, we understand the need to develop a sense of photography that resonates with artistry. We know quite a lot of photographers that love the bluish tone on a cloudy day. The only downgrade, or upgrade (in our opinion), is that it works with muted colors.
On the other hand, sunny days can cast harsh shadows. However, if you measure your angles correctly, you can pitch in the right contrast and glow up.
Different Times of the Day
If you are out for a long shoot, or if you want to shoot for a brand during a specific timing, you need to know that a day has three light changes in it.
- Golden hour – It occurs twice a day. One of them occurs during sunrise, and the other one occurs during sunset.
- Midday sun – If you do your homework and get it right, there is no better way to capture photographs during the midday sun.
- Twilight – Just like golden hour, twilight occurs twice a day. The first cycle occurs 20 minutes before the sun rises, and the second one occurs 20 minutes after the sun is set.
Conclusion
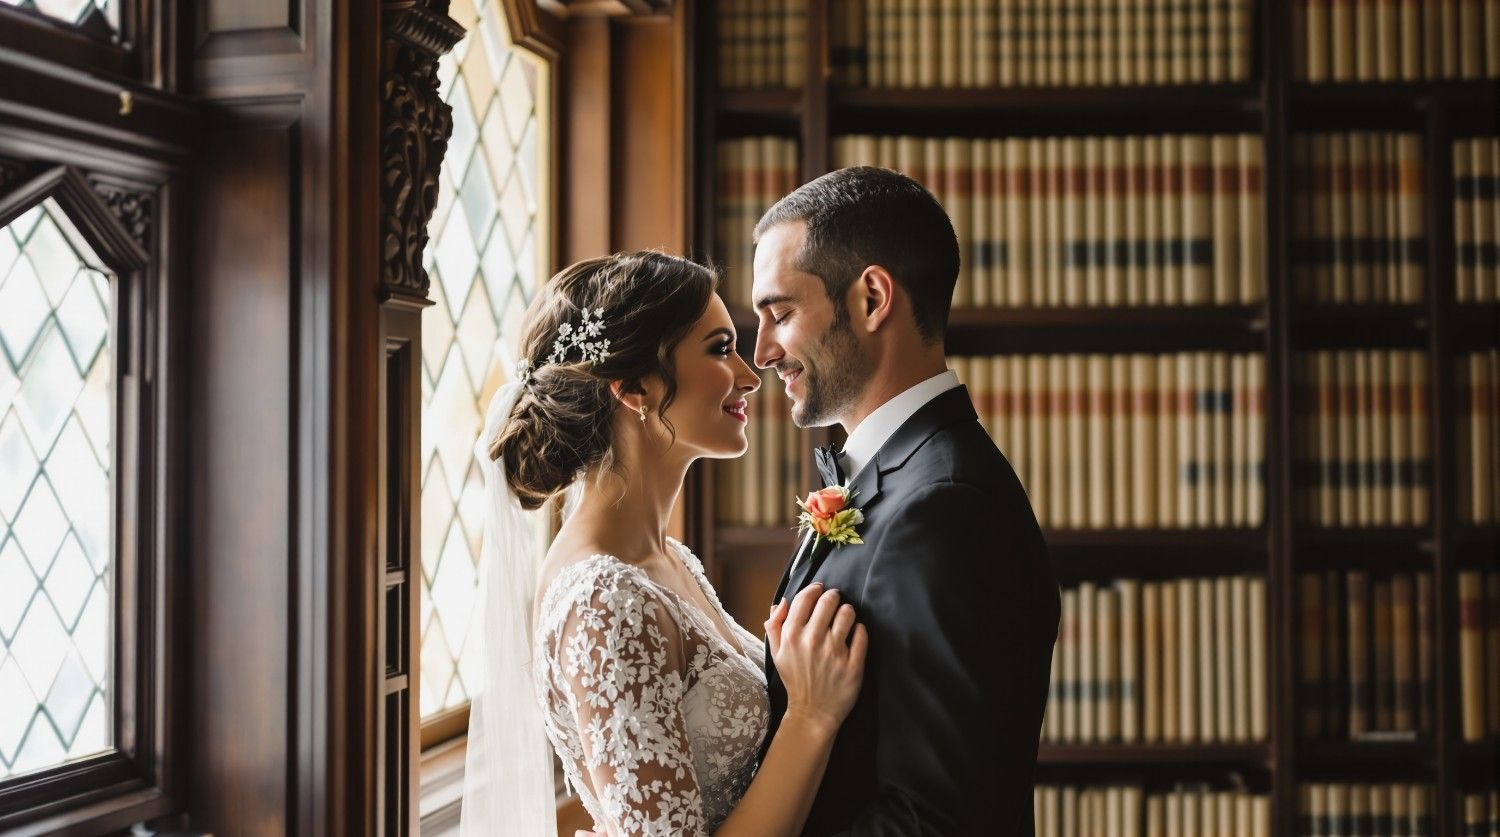
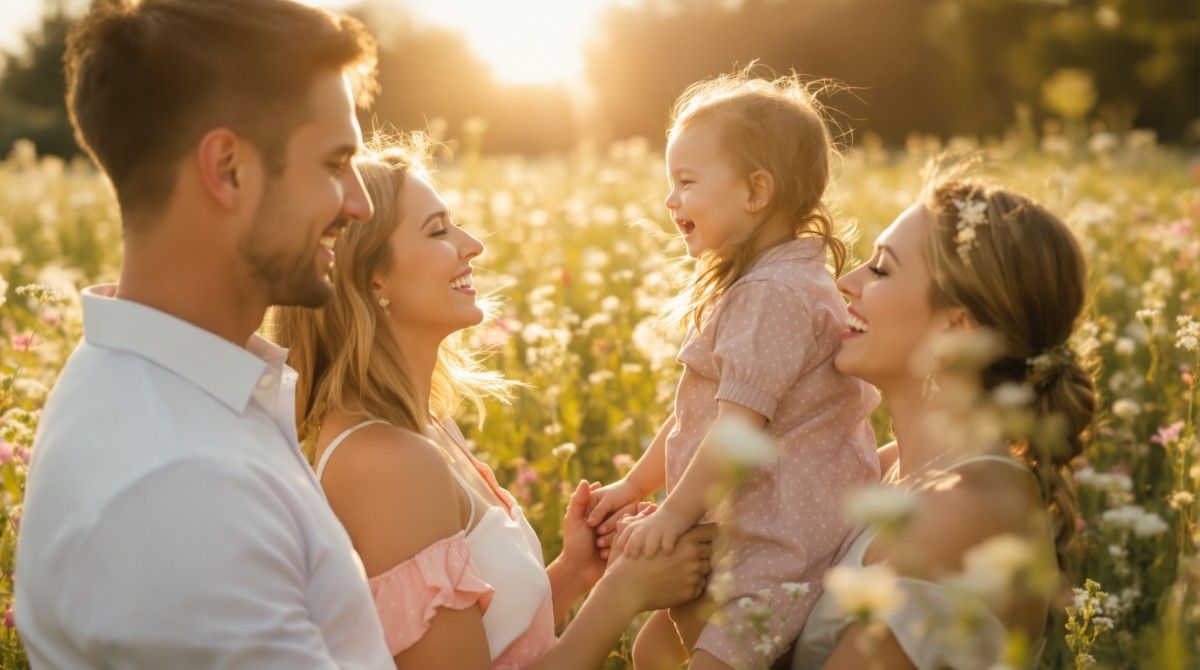
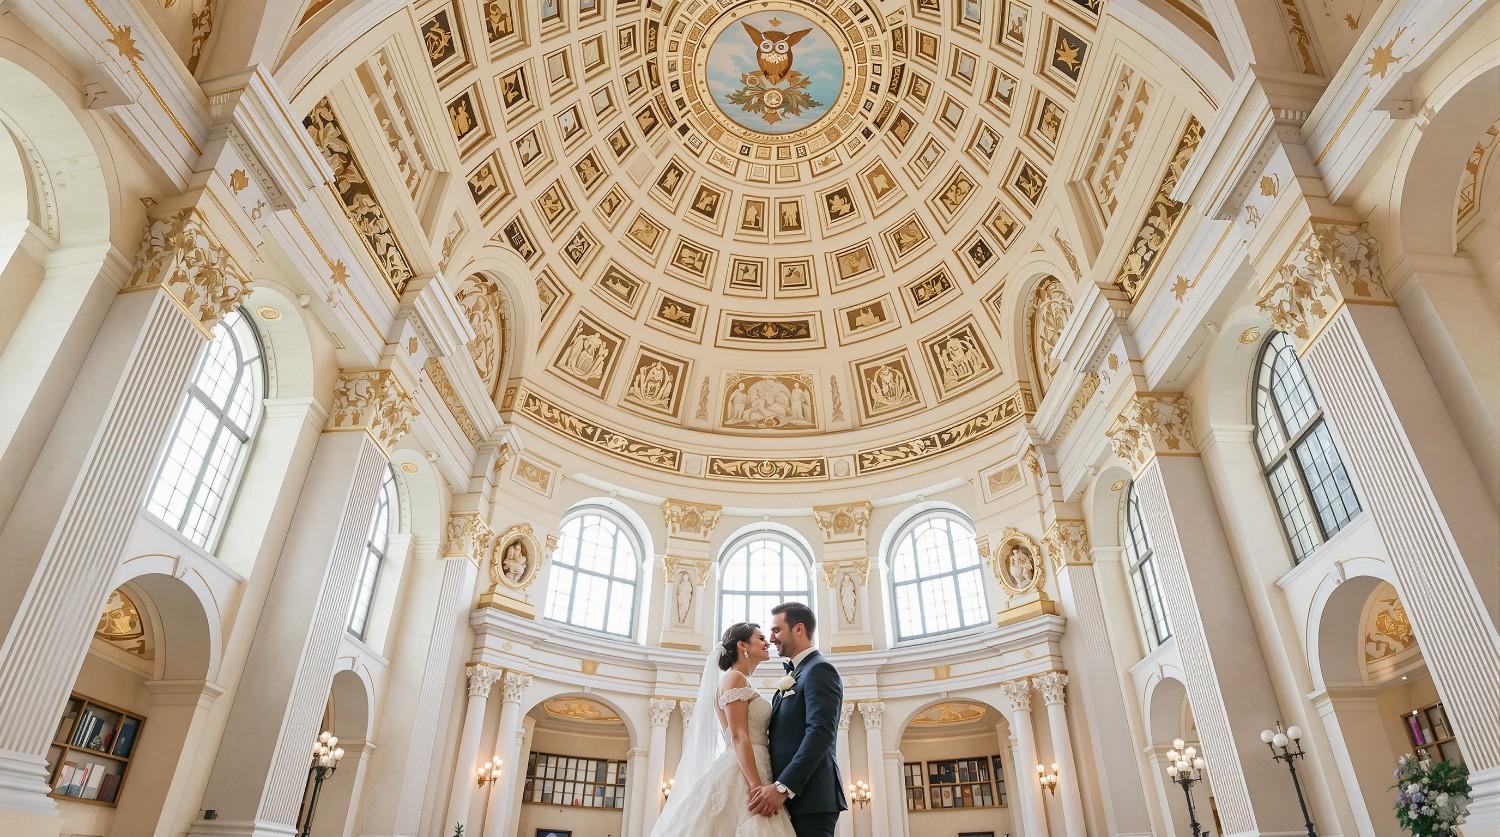
We have years of experience in photography. In that time, we have covered a plethora of events, such as weddings, newborn photography, brand photography, and graduation ceremonies. Some people will tell you the benefits of the golden hour. In contrast, the others will enforce their opinion that the midday sun is the best time for photography.
Our expert suggestion is not to ask anyone about the ‘right’ style. Experiment with different styles until you achieve the style you have mastered. But, if you still cannot do it, we are here to help you in the process.
About Us
Based in Missouri, Bright Focus Photography is a name of excellence in providing excellent photography services. Our exuberant services, dipped with a punch of humor, will be everything you need for your big day. By adding a hint of honesty, kindness, hard work, and fairness to our work, we stand out among many others for the effort we put into our work.